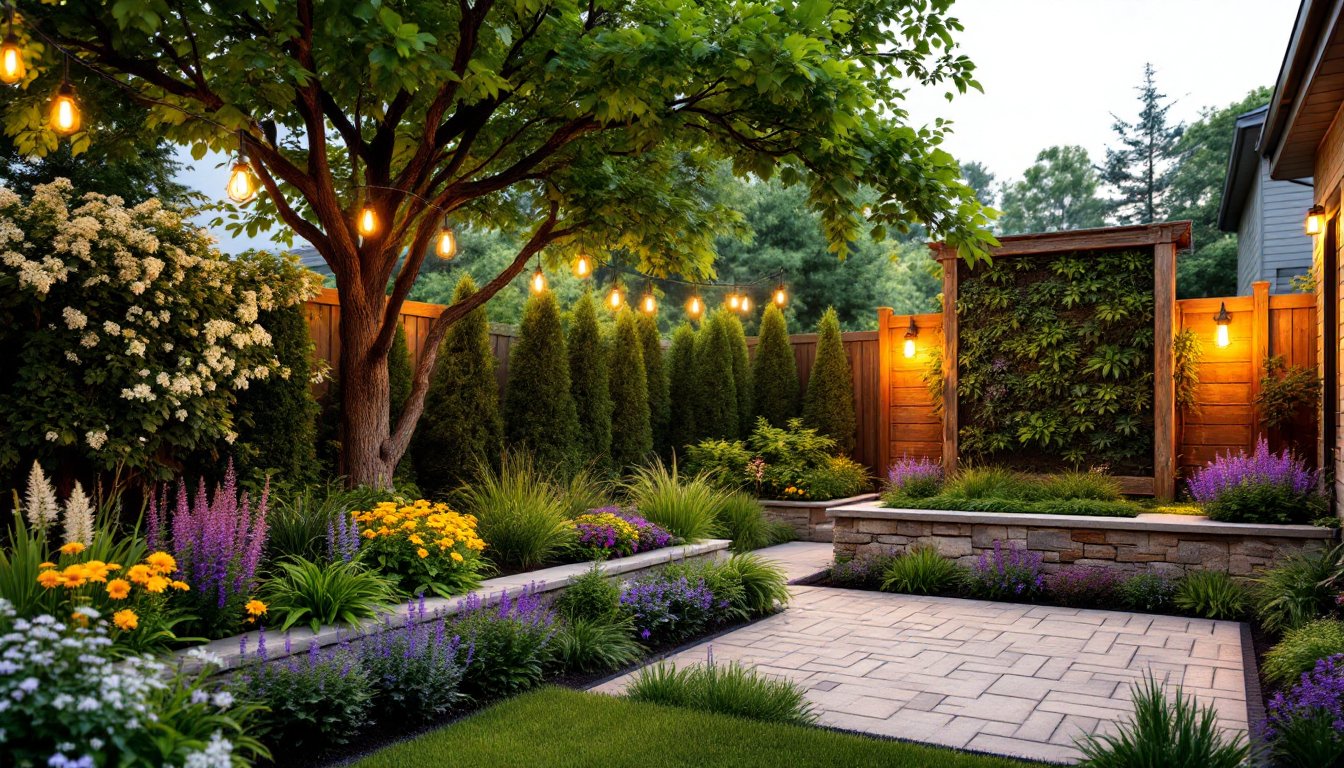
Interior green walls bring living, breathing nature into homes where floor space is tight and style aspirations run high. These vertical gardens, also called living walls or plant walls, pack dozens of plants into compact, wall-mounted systems that filter air, dampen sound, and deliver a dose of biophilia without sacrificing square footage. They’re not just decorative: they’re functional installations that require planning, proper structural support, and ongoing care. Whether someone’s eyeing a small modular panel in a bathroom or a floor-to-ceiling statement wall in a living room, the fundamentals are the same: choose the right system, match plants to light conditions, and commit to regular maintenance.
Table of Contents
ToggleKey Takeaways
- Interior green wall design requires proper structural support (fastening into wall studs), waterproofing with a 6-mil vapor barrier, and a drip tray system to prevent moisture damage and mold.
- Match plants to your actual light conditions—low-light performers like pothos and philodendron suit north-facing rooms, while medium-to-bright light areas support ferns and tradescantia.
- Modular panel systems offer the most accessible entry point for DIY installations, scaling easily and costing less than custom built-in alternatives priced at $100–$200 per square foot.
- Green walls improve indoor air quality by removing VOCs, reduce ambient noise, and provide psychological benefits like lowered stress levels, but require consistent weekly maintenance including watering and pest monitoring.
- Plan for 15–30 minutes of weekly care: check soil moisture, flush automated irrigation systems monthly, trim leggy growth every 4–6 weeks, and replace 10–20% of plants annually.
What Is an Interior Green Wall and Why Install One?
An interior green wall is a vertical planting system that holds live plants in soil, growing medium, or hydroponic substrate. Unlike potted plants arranged on shelves, these systems integrate irrigation, drainage, and often lighting into a single wall-mounted structure.
Why bother? The benefits are measurable. Studies on indoor air quality show that plants remove volatile organic compounds (VOCs) like formaldehyde and benzene, common offgassers from furniture and flooring. A properly sized green wall can also reduce ambient noise by absorbing sound waves, making them useful in open-plan homes or home offices. And there’s the psychological upside: exposure to greenery lowers cortisol and improves focus, backed by environmental psychology research.
But they’re not plug-and-play. Green walls need consistent watering (manual or automated), adequate light (natural or supplemental grow lights), and attention to humidity and drainage. Neglect leads to root rot, mold, or dead plants. If someone isn’t ready to check soil moisture weekly, or invest in a timer-based irrigation system, a green wall might not be the right fit.
Types of Indoor Green Walls for Every Home
Not all green walls are built the same. The system type determines installation complexity, cost, and maintenance load.
Modular Panel Systems
These are pre-planted trays or pockets (usually 12″ × 12″ to 24″ × 24″) that stack or hang on a wall. Each panel has individual planting cells with built-in irrigation channels. They’re DIY-friendly and scalable, start with one panel, add more later. Brands like Woolly Pocket and GroVert offer versions with drip irrigation reservoirs. Expect to mount them into wall studs using #10 wood screws and anchors rated for at least 50 lbs per panel when saturated.
Felt Pocket (Hydroponic) Walls
These use fabric pockets sewn onto a backing, filled with soilless growing medium like coconut coir or rockwool. Water drips from the top and wicks down through the pockets. They’re lighter than soil-based systems, about 4–6 lbs per square foot when wet, but require a recirculating pump and reservoir at the base. Installation involves attaching a moisture barrier (polyethylene sheeting or pond liner) to protect drywall, then securing the felt frame.
Freestanding Tower or Trellis Systems
These lean against a wall or stand independently, ideal for renters or anyone avoiding wall penetrations. Vertical aeroponic towers use misting nozzles to feed roots suspended in air, efficient but pricey ($300–$800 for a 20-plant tower). Trellis systems combine potted plants with a metal or wood frame, easier to maintain but bulkier.
Custom Built-In Installations
For whole-wall coverage, contractors build a frame (typically 2×4 studs), install waterproofing, mount a drip irrigation grid, and attach planting media. These are permanent, require permits in some jurisdictions if altering load-bearing walls, and cost $100–$200 per square foot installed. They’re stunning but not beginner projects.
Choosing the Right Plants for Your Living Wall
Plant selection makes or breaks a green wall. Match species to available light, accept that some will outgrow others, and plan for eventual replanting.
Low-Light Performers (under 200 foot-candles, typical for north-facing rooms or 10+ feet from windows):
- Pothos (Epipremnum aureum): Vining, fast-growing, tolerates neglect. Trim every few months to prevent leggy growth.
- Philodendron (heartleaf varieties): Similar care to pothos, slightly more compact.
- Snake plant (Sansevieria): Slow-growing, architectural, needs infrequent water. Root rot risk if overwatered.
- ZZ plant (Zamioculcas zamiifolia): Glossy, upright, handles low humidity.
Medium-to-Bright Light (200–800 foot-candles, near east or west windows, or under full-spectrum LEDs):
- Ferns (Boston, maidenhair, birds nest): High humidity lovers. Mist daily or run a humidifier nearby.
- Spider plant (Chlorophytum comosum): Produces plantlets for easy propagation.
- Peperomia: Compact, colorful foliage, minimal root system.
- Tradescantia (wandering jew): Trailing, vibrant purple or green, pinch back to encourage bushiness.
Avoid These Common Mistakes:
- Mixing plants with vastly different water needs in the same irrigation zone.
- Choosing slow growers (like succulents) next to aggressive vines: the vines will smother them.
- Overloading with flowering species, blooms are temporary, and most indoor light won’t support continuous flowering.
For small spaces where vertical gardens complement other design strategies for compact rooms, stick with uniform plants like all pothos or all ferns for a cleaner look.
Planning Your Green Wall: Location, Lighting, and Structural Considerations
A green wall isn’t a poster you hang and forget. It’s a semi-permanent installation with plumbing and weight implications.
Structural Load
Saturated soil or growing medium weighs 10–20 lbs per square foot depending on depth. A 4′ × 8′ wall (32 sq ft) can hit 640 lbs. That requires fastening into wall studs (typically 16″ on center) with lag bolts or mounting brackets rated for the load. Drywall anchors alone won’t cut it. If mounting on exterior walls or over tile, use masonry anchors and verify the wall isn’t load-bearing before drilling multiple penetrations. Structural work of this scale may require a permit, check local building codes.
Waterproofing
Moisture will wick, drip, and condense. Install a 6-mil polyethylene vapor barrier between the wall and the planting system, sealed at seams with construction adhesive or waterproof tape. Run it at least 6 inches beyond the frame on all sides. Add a drip tray or gutter at the base to catch overflow, PVC or galvanized steel works. Slope it 1/4″ per foot toward a drain or collection bucket.
Lighting
Natural light is ideal but inconsistent. Measure actual light levels with a foot-candle meter (smartphone apps work). If readings fall below plant requirements, add full-spectrum LED grow lights. Mount them 12–18 inches from the canopy, run them on a timer for 12–14 hours daily. Expect to add 20–40 watts per square foot of coverage. That’s about 640 watts for a 4′ × 8′ wall, factor that into electrical capacity. If adding new circuits, hire a licensed electrician to comply with NEC Article 210 (branch circuit requirements).
HVAC and Humidity
Green walls raise indoor humidity by 5–10%. In dry climates, that’s a bonus. In humid regions or poorly ventilated rooms, it can promote mold on drywall. Ensure adequate air circulation with a ceiling fan or vent. Keep walls away from HVAC vents that blast hot or cold air directly on plants.
DIY Installation Guide for Indoor Green Walls
This walkthrough covers a modular panel system, the most accessible option for first-timers.
Tools and Materials
Tools:
- Stud finder
- Drill/driver with bits (for wood and masonry if needed)
- Level (4-foot recommended)
- Measuring tape
- Utility knife
- Caulk gun
Materials:
- Modular green wall panels (quantity based on desired coverage)
- #10 × 3″ wood screws or lag bolts
- Wall anchors (if studs aren’t available at all mounting points)
- 6-mil polyethylene sheeting
- Drip tray or gutter (sized to wall width)
- Growing medium (if panels aren’t pre-planted)
- Plants (see section above)
- Irrigation setup: manual (watering can with narrow spout) or automated (timer + drip tubing)
Safety Gear: Gloves, safety glasses (for drilling overhead).
Step-by-Step
- Locate Studs: Use a stud finder to mark 16″ on-center framing. Mark each stud location with painter’s tape.
- Install Vapor Barrier: Cut polyethylene to cover the wall area plus 6 inches overlap. Tape or staple it to the wall, ensuring all seams are sealed.
- Mount Drip Tray: Fasten the tray at the base, level and sloped toward drainage. Secure it into at least two studs.
- Hang First Panel: Start at the bottom corner. Drill pilot holes through panel mounting brackets into studs. Drive screws until snug, don’t overtighten and crack plastic. Check level before moving on.
- Add Remaining Panels: Stack or align side-by-side, maintaining consistent spacing. Most systems interlock: follow manufacturer instructions.
- Install Irrigation (if automated): Run 1/4″ drip tubing along the top edge, securing with clips. Connect to a timer and water source (faucet adapter or reservoir pump). Test flow before planting.
- Plant: Fill pockets with moistened growing medium, insert plant roots, pack gently. Water thoroughly and let drain.
- Position Grow Lights (if needed): Mount LED bars 12–18 inches from plants, level and parallel to the wall. Plug into a timer.
For renters or non-permanent setups, freestanding systems skip wall mounting entirely. Taller towers may still need anchoring to prevent tipping, use furniture straps secured to baseboards.
Integrating greenery into broader interior design concepts can unify a room’s aesthetic, especially when plant colors echo other decor elements.
Maintenance Tips to Keep Your Green Wall Thriving
Green walls aren’t set-it-and-forget-it. Budget 15–30 minutes weekly for care.
Watering
Manual systems: Water until moisture appears at the bottom tray, then stop. Frequency depends on light, temperature, and plant type, start with twice weekly, adjust based on soil dryness 1 inch below the surface.
Automated drip: Check emitters monthly for clogs (mineral buildup is common with hard water). Flush lines with a vinegar solution (1 cup per gallon of water) every six months. Adjust timer seasonally, plants need less water in winter when growth slows.
Fertilizing
Use a balanced liquid fertilizer (10-10-10 or 20-20-20 NPK) diluted to half strength. Apply monthly during spring and summer, every other month in fall and winter. Over-fertilizing causes salt buildup and burnt roots.
Pruning and Replanting
Trim leggy vines every 4–6 weeks to maintain shape. Remove dead or yellowing leaves immediately, they attract pests. Expect to replace 10–20% of plants annually as some outgrow pockets or decline. Keep backup plants potted and acclimated to swap in.
Pest Management
Watch for spider mites (fine webbing), aphids (sticky residue), and fungus gnats (tiny flies near soil). Treat with insecticidal soap or neem oil, applied per label instructions. Isolate affected panels if possible to prevent spread.
Humidity and Airflow
Mist fern-heavy walls daily or use a humidifier set to 50–60% RH. Ensure a fan circulates air gently across the wall, stagnant conditions breed mold.
Those exploring vibrant color palettes may find that variegated or purple-leafed plants (like tradescantia or certain pothos cultivars) add depth without additional paint. Similarly, homes leaning into tropical aesthetics can double down on ferns and philodendrons for a cohesive jungle vibe. And for anyone chasing tranquil, balanced interiors, a monochromatic green wall offers calming repetition without clutter.
Common mistakes include underestimating water runoff (always use a tray), skipping the vapor barrier (hello, drywall mold), and choosing plants based on looks alone rather than light compatibility. Resources like Homedit’s plant care guides can supplement species-specific advice.
Conclusion
Interior green walls deliver real impact, cleaner air, better acoustics, and a living focal point, but they demand upfront planning and consistent upkeep. Match the system to available DIY skills, choose plants that suit actual light conditions (not aspirational ones), and build in proper structural support and waterproofing from day one. Done right, a green wall becomes a dynamic piece of the home that evolves with the seasons. Done poorly, it’s a damp, dying eyesore. The difference lies in honest assessment and a willingness to maintain what’s been planted.