A patio is more than a slab of concrete or pavers, it’s a transition zone where architecture meets nature. Smart landscaping around it can turn a bland square into a functional outdoor room that extends living space and adds real value to the property. The difference between a forgettable patio and one that gets used comes down to thoughtful plantings, intentional hardscaping, and a few well-placed features that solve specific problems like privacy, glare, or wasted vertical space. This guide walks through practical patio landscaping strategies that homeowners can tackle themselves, with clear advice on what works, what to avoid, and when to call in help.
Table of Contents
ToggleCreating Visual Interest With Layered Plantings
Flat, single-height plantings look like an afterthought. Layering plants by height, texture, and bloom time creates depth and keeps the patio edge visually interesting across seasons.
Start with three tiers: low groundcovers or creeping plants along the patio edge (6-12 inches), mid-height perennials or ornamental grasses (18-36 inches) behind them, and taller backdrop plants or shrubs (4-6 feet) at the rear. This mimics natural landscapes and guides the eye without blocking sightlines.
Plant selection matters. Choose a mix of evergreens for year-round structure (boxwood, dwarf conifers, ornamental grasses) and deciduous perennials for seasonal color (salvia, coneflower, black-eyed Susan). Vary leaf textures, pair broad hostas with fine-textured ferns or feathery artemisia.
Space plants according to their mature spread, not nursery pot size. A common mistake is overcrowding. Check plant tags for spacing: most perennials need 12-18 inches, shrubs 24-48 inches. Mulch gaps with 2-3 inches of shredded hardwood bark to suppress weeds while plants fill in.
For containers on the patio itself, use the thriller-filler-spiller formula: one tall focal plant, mid-height companions, and trailing plants that spill over the rim. This adds layering in three dimensions.
Defining Patio Borders With Hardscaping Elements
Hardscaping creates clean transitions between patio pavers and planting beds while solving drainage and erosion problems. Without it, mulch migrates onto the patio and soil washes out during rain.
Edging options include aluminum landscape edging (flexible, invisible when installed), steel edging (modern, crisp lines), natural stone (irregular or cut), and brick soldier course (classic, matches many patio materials). Aluminum edging is the easiest DIY install, stake it every 3-4 feet and backfill both sides. Steel requires cutting with an angle grinder but holds tighter curves.
For a more substantial border, a low retaining wall (12-18 inches high) made from concrete blocks, natural stone, or brick allows raised planting beds that improve drainage and add seating height. Anything over 24 inches may require engineering depending on local codes, especially on slopes.
Gravel borders work well for contemporary landscape designs where a 6-12 inch band of ¾-inch crushed stone separates patio from plantings. Install landscape fabric underneath to prevent weeds: skip the fabric if you’re using decomposed granite, which needs to compact into itself.
Drainage consideration: slope beds away from the patio at a minimum 2% grade (¼ inch per foot). If the patio sits lower than surrounding grade, add a French drain or channel drain along the border to intercept runoff.
Incorporating Vertical Gardens and Living Walls
Vertical plantings reclaim unused wall and fence space, adding greenery without shrinking the patio footprint, critical for small yards.
Trellis-mounted planters are the simplest approach. Attach a wood or metal trellis to a fence or wall (use masonry anchors for brick/stucco, lag bolts into studs for wood siding), then hang containers or train climbing vines. Clematis, climbing hydrangea, and jasmine work well. Ensure the trellis is 2-3 inches off the wall surface for air circulation to prevent rot and mildew.
For edibles, vertical pallet planters or gutter gardens can support herbs, lettuce, and strawberries. Line containers with landscape fabric, fill with lightweight potting mix (not garden soil, too heavy), and install drip irrigation or hand-water daily in summer. Many edible landscaping setups translate well to vertical formats.
Modular living wall systems (felt pocket panels, plastic grid modules) deliver a true green wall effect. These require irrigation, either built-in drip lines or manual watering, and need structural support. A 4×8-foot planted wall weighs 200+ pounds when saturated. Mount to studs or masonry with appropriate hardware and check local building codes: some jurisdictions classify permanent living walls as structures requiring permits.
Choose shade-tolerant plants (ferns, pothos, philodendron) for north-facing walls, sun lovers (sedum, succulents) for southern exposures. Rotate seasonal annuals in pocket planters to keep the display fresh.
Adding Privacy With Strategic Landscaping
Privacy plantings block sightlines, buffer noise, and create enclosure without the expense or permit hassles of building a fence. The key is choosing plants that deliver year-round screening at the right height.
Evergreen shrubs and trees do the heavy lifting. Arborvitae (Thuja), Leyland cypress, and skip laurel grow 8-12 feet tall and provide dense, year-round coverage. Plant them 3-4 feet on center for a hedge effect, or space wider for individual specimens. Note: Leyland cypress is prone to bagworms and canker in humid climates: consider disease-resistant alternatives like ‘Green Giant’ arborvitae.
For faster results, bamboo (clumping varieties like Fargesia, not running types) reaches 10-15 feet in 3-5 years. Install a root barrier even for clumping types, a 24-inch HDPE plastic barrier sunk vertically into the ground prevents spread. Bamboo needs regular water and tolerates partial shade.
Mixed privacy hedges combine evergreens with deciduous flowering shrubs (viburnum, lilac, forsythia) for seasonal interest. This approach works well when total opacity isn’t required, it breaks up views without feeling like a wall.
Tall ornamental grasses (miscanthus, pampas grass) provide semi-transparent screening at 6-10 feet. They’re low-maintenance once established but die back in winter in cold climates. Pair with evergreens for year-round effect.
Anywhere you’re planting within 10 feet of a property line, check local setback and height restrictions. Some HOAs and municipalities regulate hedge height and species.
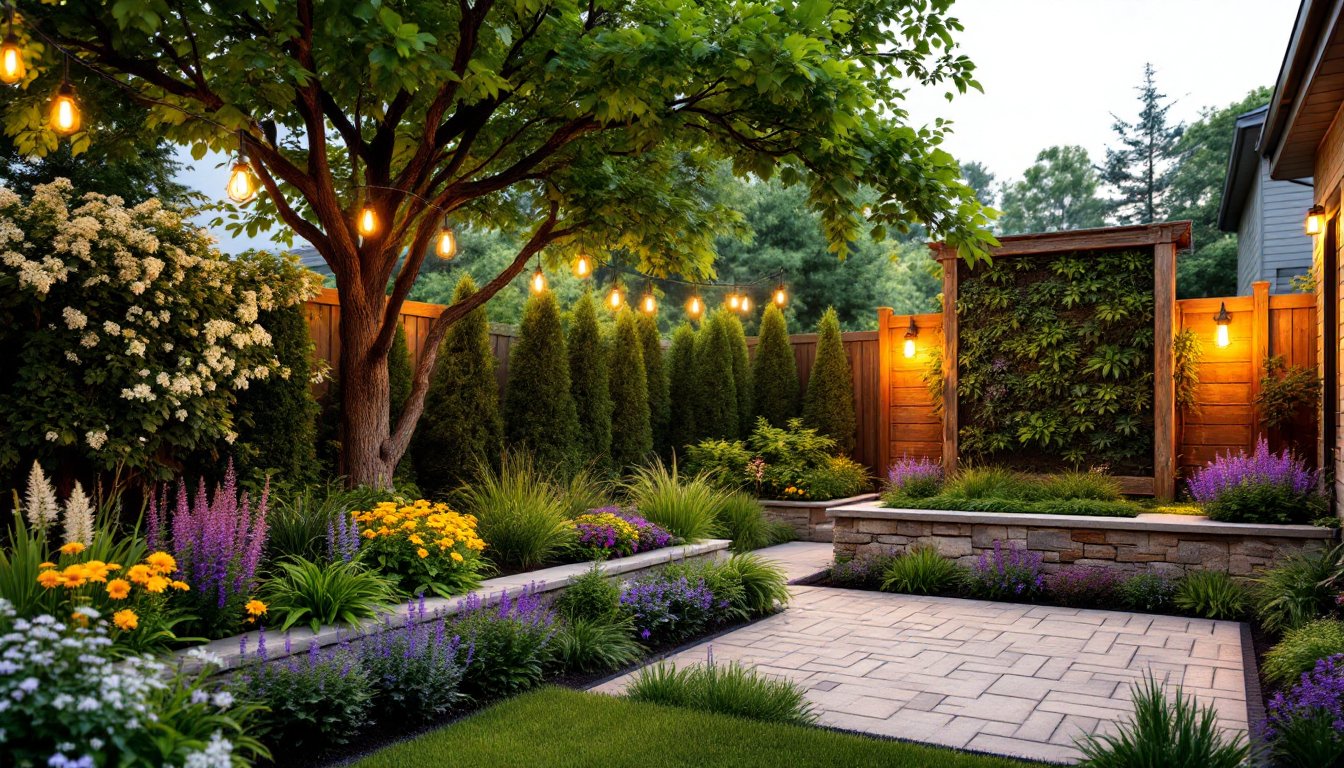
Lighting Your Patio Landscape for Ambiance and Function
Landscape lighting extends usability after dark and highlights plantings and hardscaping that disappear at sunset. A layered approach, path lighting, accent uplighting, and ambient fixtures, creates depth and safety.
Low-voltage LED systems (12V) are the DIY-friendly standard. They’re safer than line-voltage (120V) systems, which require conduit burial and often a licensed electrician. A typical low-voltage kit includes a transformer (150-300W), cable, and fixtures. Bury cable 6 inches deep in a shallow trench or hide it under mulch if codes allow.
Install path lights every 8-10 feet along walkways leading to and from the patio. Choose fixtures that cast light downward to reduce glare, hooded or shielded designs work best. Avoid runway-style spacing: stagger fixtures on alternating sides for a more natural look.
Uplighting transforms trees and tall shrubs into nighttime focal points. Position a bullet or well light at the base, angled up through the canopy. Use a warm white (2700-3000K) LED to mimic natural light. Cooler temps (4000K+) look harsh on foliage.
For ambient light on the patio itself, string lights or post cap lights on railings add soft overhead glow without dedicated wiring. Solar options work for accent lighting, but hardwired LEDs deliver consistent brightness. Many outdoor design ideas emphasize lighting as a key layer for usable evening space.
Safety note: Use outdoor-rated fixtures (wet or damp location, depending on exposure), and connect low-voltage systems to a GFCI-protected outlet. Bury cable to code depth and avoid running it under hardscaping where future access is difficult.
Low-Maintenance Landscaping Options for Busy Homeowners
Low-maintenance doesn’t mean no maintenance, it means choosing plants and materials that reduce weekly tasks like mowing, deadheading, and constant watering.
Start with native and adapted plants. They’ve evolved for local climate and soil, so they need less water, fertilizer, and pest control once established. Regional extension offices publish lists: examples include coneflower and bluestem grass for the Midwest, California poppy and manzanita for the West Coast, saw palmetto and coontie for the Southeast. Many landscaping strategies for beginners emphasize starting with regionally appropriate species to reduce the learning curve.
Mulch properly. A 2-3 inch layer of shredded hardwood, pine bark, or composted leaves suppresses weeds, moderates soil temperature, and retains moisture. Avoid mulch volcanoes around plant stems, pull it back 2-3 inches to prevent rot. Refresh mulch annually: it decomposes and thins over time.
Drip irrigation or soaker hoses cut watering time to near zero. Run a mainline from an outdoor spigot with a timer, then branch ¼-inch drip tubing to individual plants. Emitters deliver water directly to root zones with minimal evaporation. Design for zones based on plant water needs, xeric plants on one valve, thirsty annuals on another.
Groundcovers instead of grass eliminate mowing in tight areas around the patio. Creeping thyme, sedum, and clover tolerate foot traffic and stay under 4 inches. For shade, try pachysandra or vinca minor. These spread to fill gaps but may need edging to keep them in bounds.
Skip high-maintenance annuals unless you enjoy replanting twice a year. Focus on perennials, ornamental grasses, and evergreen shrubs that return season after season. Deadhead only if you want to extend bloom time: many perennials (salvia, coreopsis, rudbeckia) are self-cleaning.
Hardscaping reduces plantable area, which means less to maintain. Expanding the patio or adding gravel/stone zones cuts down on beds. For more ideas on balancing hardscape and greenery, resources like Sunset and The Spruce offer region-specific, low-input planting schemes.
Conclusion
Thoughtful patio landscaping blends practical problem-solving with design, layered plantings for visual depth, hardscaping for clean edges, vertical elements to maximize space, privacy screens that actually screen, lighting that works after dark, and plant choices that don’t demand constant attention. Tackle these projects in phases if needed, starting with defining borders and key plantings, then adding lighting and vertical features as time and budget allow. The result is an outdoor space that feels intentional, functional, and worth stepping into.