Building an interior design portfolio isn’t just about collecting pretty pictures. It’s the single most powerful tool for landing clients, whether you’re launching a solo design practice, applying for positions at established firms, or pivoting from hobbyist to professional. A well-crafted portfolio demonstrates not just aesthetic taste, but problem-solving skills, spatial awareness, and the ability to translate client needs into livable spaces. The difference between a portfolio that gets ignored and one that books consultations often comes down to curation, presentation, and strategic organization, not the number of projects inside.
Table of Contents
ToggleKey Takeaways
- An interior design portfolio is the most powerful tool for landing clients and bridges the gap between credentials and proven execution.
- Quality beats quantity—a portfolio of 8 exceptional projects outperforms 20 mediocre examples and should be curated to reflect your current capabilities and desired niche.
- Before-and-after comparisons with specific context (square footage, budget tier, client pain points, and your solution) effectively communicate problem-solving ability.
- Professional architectural photography is essential; hire a professional photographer to ensure proper lighting, composition, and image quality—mix quality with DIY photos if budget-constrained.
- Organize your portfolio by project type and relevance to target clients, leading with your strongest work within the first three projects, and keep digital navigation shallow to reduce bounce rates.
- Each project entry needs consistent components: hero image, project specifications, process documentation, floor plans, material callouts, and client testimonials to tell a complete story.
Why Every Interior Designer Needs a Strong Portfolio
A portfolio serves as visual proof of competency. Clients don’t hire based on credentials alone, they hire because they can see themselves in your previous work. For residential designers, homeowners want to know you’ve tackled similar square footage, budget constraints, or style preferences. Commercial clients need evidence you understand code compliance, ADA requirements, and high-traffic durability.
Without a portfolio, you’re asking prospects to take a leap of faith. Even designers with formal degrees or certifications struggle to convert leads without showing finished projects. The portfolio bridges the gap between “I know design” and “I’ve executed design successfully.”
Your portfolio also clarifies your niche. Showing a mix of vibrant color applications signals one specialty, while featuring commercial workspace layouts attracts corporate clients. This focus helps potential clients self-select, reducing time spent on mismatched consultations.
Curating Your Best Work for Maximum Impact
Quality beats quantity every time. A portfolio with eight exceptional projects outperforms one with twenty mediocre examples. Start by auditing completed work and asking: Does this project demonstrate a skill or solve a problem my target client faces?
Exclude projects that don’t reflect current capabilities or desired direction. If you’ve evolved beyond builder-grade makeovers and now specialize in custom millwork and bespoke finishes, leave the budget flips out. Include only work that represents the caliber and style you want to replicate.
Showcase variety within your niche. If you focus on residential interiors, include projects with different scales, a powder room renovation, a whole-home remodel, and a single-room transformation. This proves versatility without diluting your brand. For designers working in small-space solutions, highlight how you maximize function in tight footprints.
Before-and-after comparisons carry weight. They communicate problem-solving ability more effectively than polished final shots alone. Pair each “after” with brief context: square footage, budget tier (without exact numbers), client pain points, and your solution. Skip vague descriptions like “modern farmhouse elegance”, use specifics like “reconfigured galley kitchen to add 18 sq ft of counter space and improved work triangle flow.”
Choosing the Right Portfolio Format for Your Goals
The format depends on how and where you’re presenting your work. Digital portfolios dominate in 2026, but physical books still hold value in specific contexts.
Digital vs. Physical Portfolios
Digital portfolios offer flexibility and reach. They’re accessible via link, easy to update, and can include interactive elements like floor plans, 3D renderings, or embedded video walkthroughs. Platforms like Houzz provide built-in audiences and SEO benefits, while custom websites offer full brand control. PDF portfolios work for email attachments but lack the dynamic presentation of a web-based format.
For designers targeting clients who browse home design galleries online, a responsive website with high-resolution photography is non-negotiable. Include mobile optimization, many prospects will view portfolios on smartphones during initial research.
Physical portfolios shine in face-to-face meetings. A leather-bound book with archival-quality prints conveys professionalism and allows tactile engagement with material samples, fabric swatches, or finish boards. Use a physical portfolio when meeting residential clients in their homes or presenting to commercial decision-makers who prefer analog formats.
Many designers maintain both: a comprehensive digital portfolio for broad visibility and a curated physical version for closing conversations. The physical book should be a greatest-hits edit, 10-12 pages maximum, printed on heavyweight matte stock to avoid glare during review.
Essential Elements Every Interior Design Portfolio Must Include
Each project entry needs consistent components to tell a complete story. Start with a hero image, the single best shot that captures the finished space’s character. This is what prospects see first, so choose carefully.
Include project specifications: location (city, not address), square footage, scope (new construction, renovation, furnishing only), and timeline. These details help clients gauge whether you’ve handled projects similar to theirs.
Add process documentation where possible. Interior design sketches, mood boards, or CAD renderings show how you move from concept to execution. Clients want to understand what working with you looks like, process images build confidence.
Floor plans or spatial diagrams prove you think in three dimensions, not just surface decoration. For renovations, include a before-and-after floor plan showing layout changes, wall removals, or added built-ins. Label key interventions: “Relocated doorway to improve circulation,” or “Added structural beam (per engineer specs) to open kitchen to living room.”
Material and finish callouts demonstrate attention to detail. Note the difference between showing a beautiful backsplash and specifying it as “handmade zellige tile in custom glaze, grouted with unsanded grout for tight 1/16″ joints.” The latter signals expertise.
Include a brief client testimonial if available. A single sentence, “Sarah transformed our dated galley into a kitchen we actually want to cook in”, carries more credibility than self-promotion.
Organizing Your Portfolio for Easy Navigation
Structure matters as much as content. Prospects shouldn’t need to hunt for relevant work. Organize by project type if you serve multiple markets, separate residential from commercial, or new builds from renovations.
Within each category, lead with your strongest project. Don’t bury the best work on page seven. Assume viewers will make a judgment within the first three projects, because they will.
For digital portfolios, use clear navigation labels. “Kitchen Remodels,” “Whole-Home Renovations,” and “Commercial Interiors” work better than cutesy names. Include filtering options if your portfolio exceeds 15 projects, let users sort by style, budget tier, or room type.
Chronological order rarely makes sense. Your earliest work is usually your weakest. Instead, organize by relevance to your target client. If you’re pivoting toward tropical-inspired residential design, feature those projects first regardless of when you completed them.
Keep navigation shallow. Avoid nesting projects more than two clicks deep. Ideally: homepage → project category → individual project. Every additional click increases bounce rates.
For physical portfolios, use tabbed dividers for categories and include a table of contents on the inside cover. Number pages so you can reference specific examples during client conversations.
Photography and Presentation Tips That Make Your Work Shine
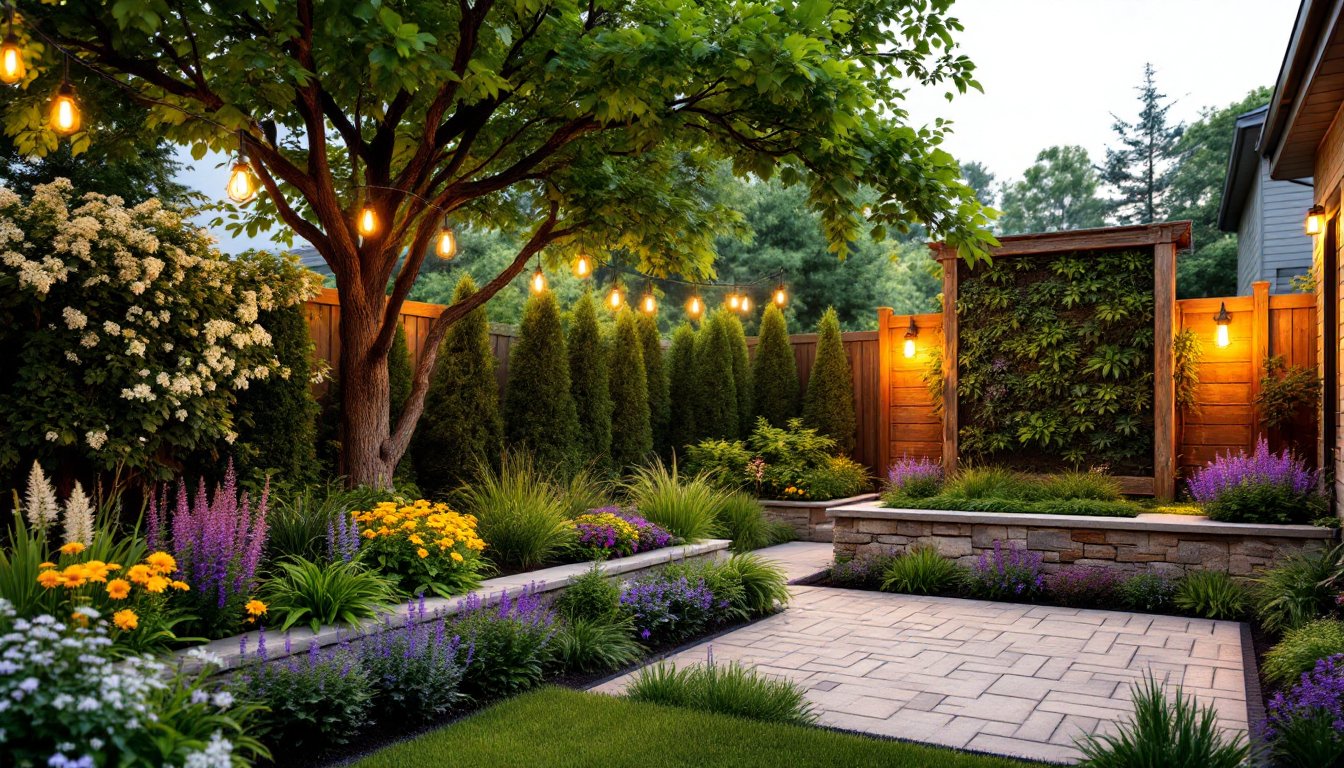
Photography quality can make or break a portfolio. Hire a professional architectural photographer for finished projects, it’s not optional. Smartphone photos, no matter how good your iPhone, lack the lighting control, lens correction, and composition skill that professional work delivers.
Lighting is everything. Schedule shoots during daylight hours and blend natural light with strategically placed strobes to eliminate harsh shadows. Architectural photographers use techniques like HDR bracketing to capture both bright windows and interior details in a single frame.
Styling matters. Remove clutter, fluff pillows, straighten artwork, and add small touches like fresh flowers or a bowl of lemons. The space should look lived-in but not messy, “move-in ready” is the standard. Remove visible electrical cords, personal photos, and any distracting elements.
Shoot from multiple angles. Capture wide shots that show entire rooms, medium shots that highlight design features (a custom built-in or tile pattern), and detail shots of hardware, lighting fixtures, or textile textures. Variety keeps portfolios visually engaging.
For digital portfolios, optimize image resolution. Use high-res files (at least 1920px on the long edge) but compress them for web use, oversized files slow load times and frustrate mobile users. Aim for under 200KB per image without visible quality loss.
Maintain consistent editing. Use the same color temperature, contrast, and saturation levels across all project photos. Inconsistent editing, where one project looks warm and golden, another cool and blue, creates a disjointed, amateur impression.
If professional photography isn’t in the budget yet, prioritize it for your top three projects. Use those as portfolio anchors and gradually replace DIY photos as budgets allow. Mixed-quality photography is better than none, but label it honestly: “In-progress documentation” or “Client-provided photos” set appropriate expectations.